How to Make a Pom Pom without losing too much of your mind, the old fashioned way (with some better tutorials than mine at the end — and it\’s okay if you decide now to scroll down there!)
Ah, the traditional pom pom. Not my fav project. It feels like too much trouble for the outcome. And how many of us have gone seeking real help on YouTube and instead we find an all-too-cheery mom with a kid on each hip telling us in her chipper, shrill tone, \”I\’m addicted to pom pom making! I love them and I just can\’t stop!\” (((laughs maniacally)) Sure, sweetheart. Sure. As a mother of 6 myself, I am here to tell you that you may just need a little more grown-up conversation. Or something…
This video then rushes into hyperspeed, and becomes a blur of wrapping, cutting, yarn, all sped up like time lapse nature photography so we don\’t switch channels before the pom pom is done. And — oh, wait, what did I miss? — a perfect pom pom just appears on the screen and the super chipper mom is back telling us to subscribe. I still don\’t have a pom pom.
Ok. I\’m joking around. Mostly. And there are really are some good video resources out there to help, and other pictorials like this one I am making here. I guess that, for me, there are a couple of truths in pom pom making that are just unavoidable: pom poms are fiddly, more time-consuming than I want them to be and — brace yourself — they don\’t always turn out, and in the worst cases, sometimes you have to start over. That just has to be ok.
With that, let\’s try to make a not-too-irritating pom pom. First, as I say: we must use patience. Make sure you don\’t have a lot of distractions, and that no one is going to imminently need your hands for about 15 minutes — or 20.
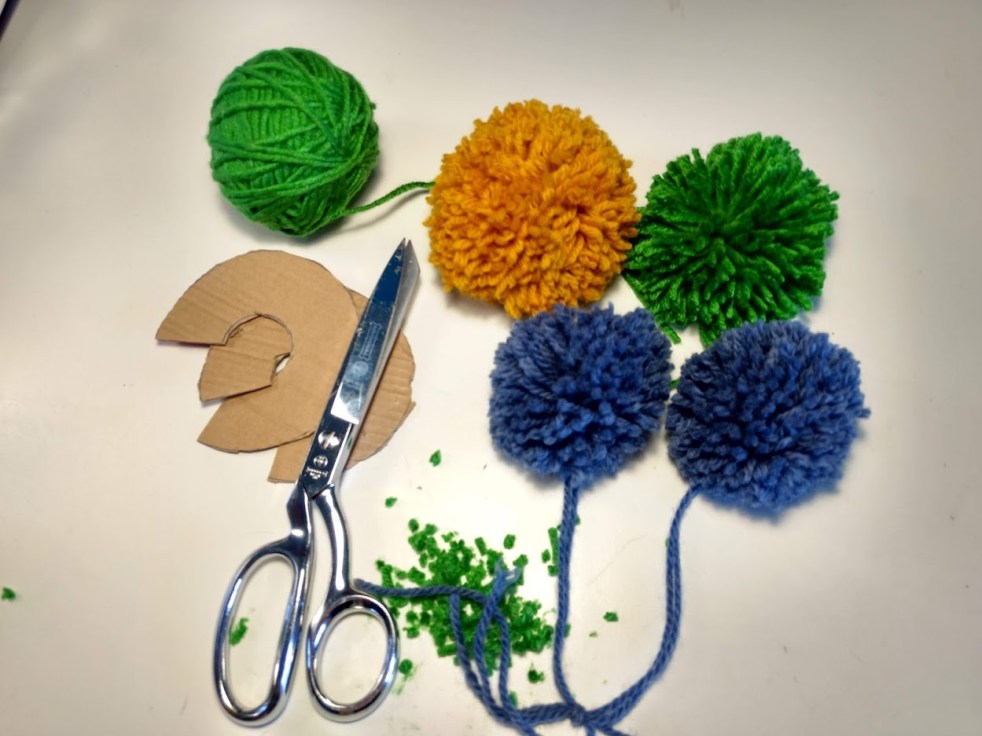
We are going to make a pom pom (or two) that is about 3\” in diameter.
You will need:
- Firm cardboard, such as from an Amazon box. You know you have one. Or three. I do.
- Sharp scissors. I\’ve seen some people use tiny surgical scissors or even razor blades (I\’ve actually seen that done!). Sharp is the best — and the safest — option. You don\’t want to slip with a dull blade.
- About 13-20g of yarn. I used 15g of Lion Brand Wool Ease for the gold pom pom It\’s the firmest and fluffiest. The green one was made using 12g Red Heart worsted acrylic yarn and the blue guys were made using a total of 13g of Patons Classic Wool.
- A jar or glass that measures about 3 inches in diameter, more is ok. 4\” might even be better.
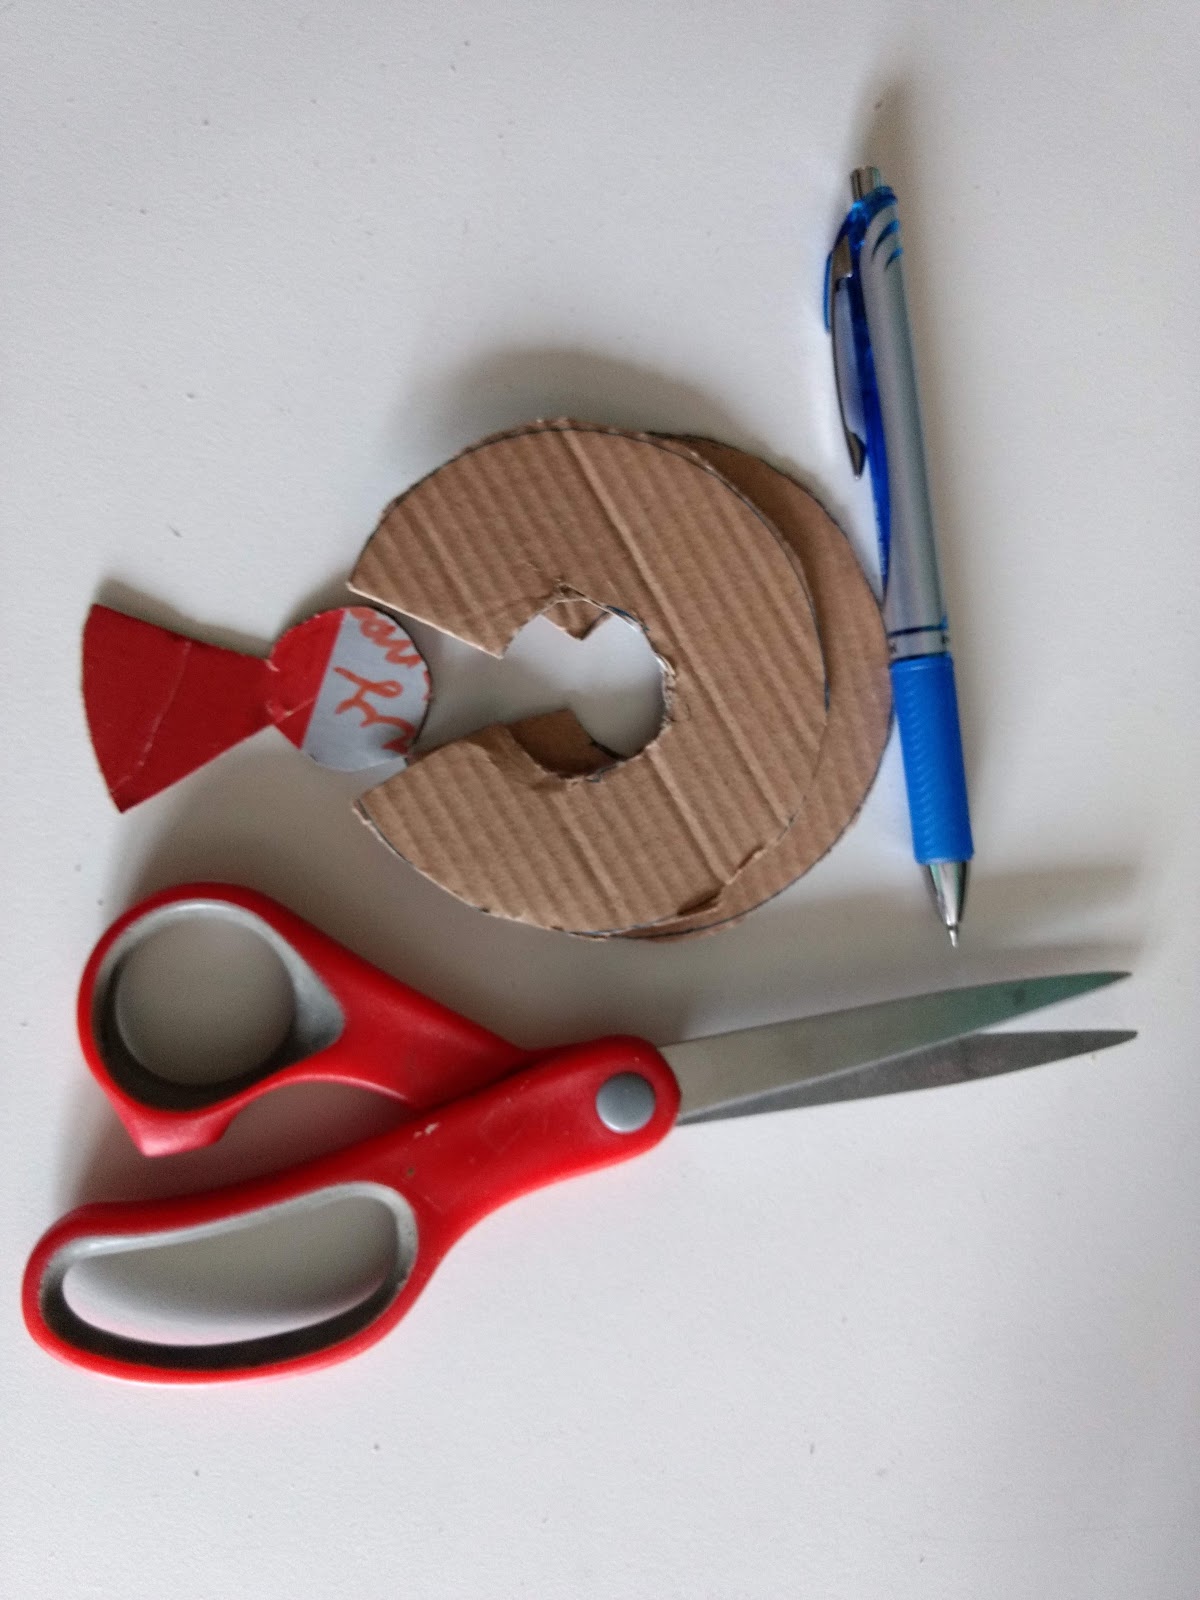
- Another round object about 1.5 inches in diameter, like the top of a small lotion bottle or even a quarter would work.
- A reliable pen. (Why create more annoyance with a pen that won\’t write?)
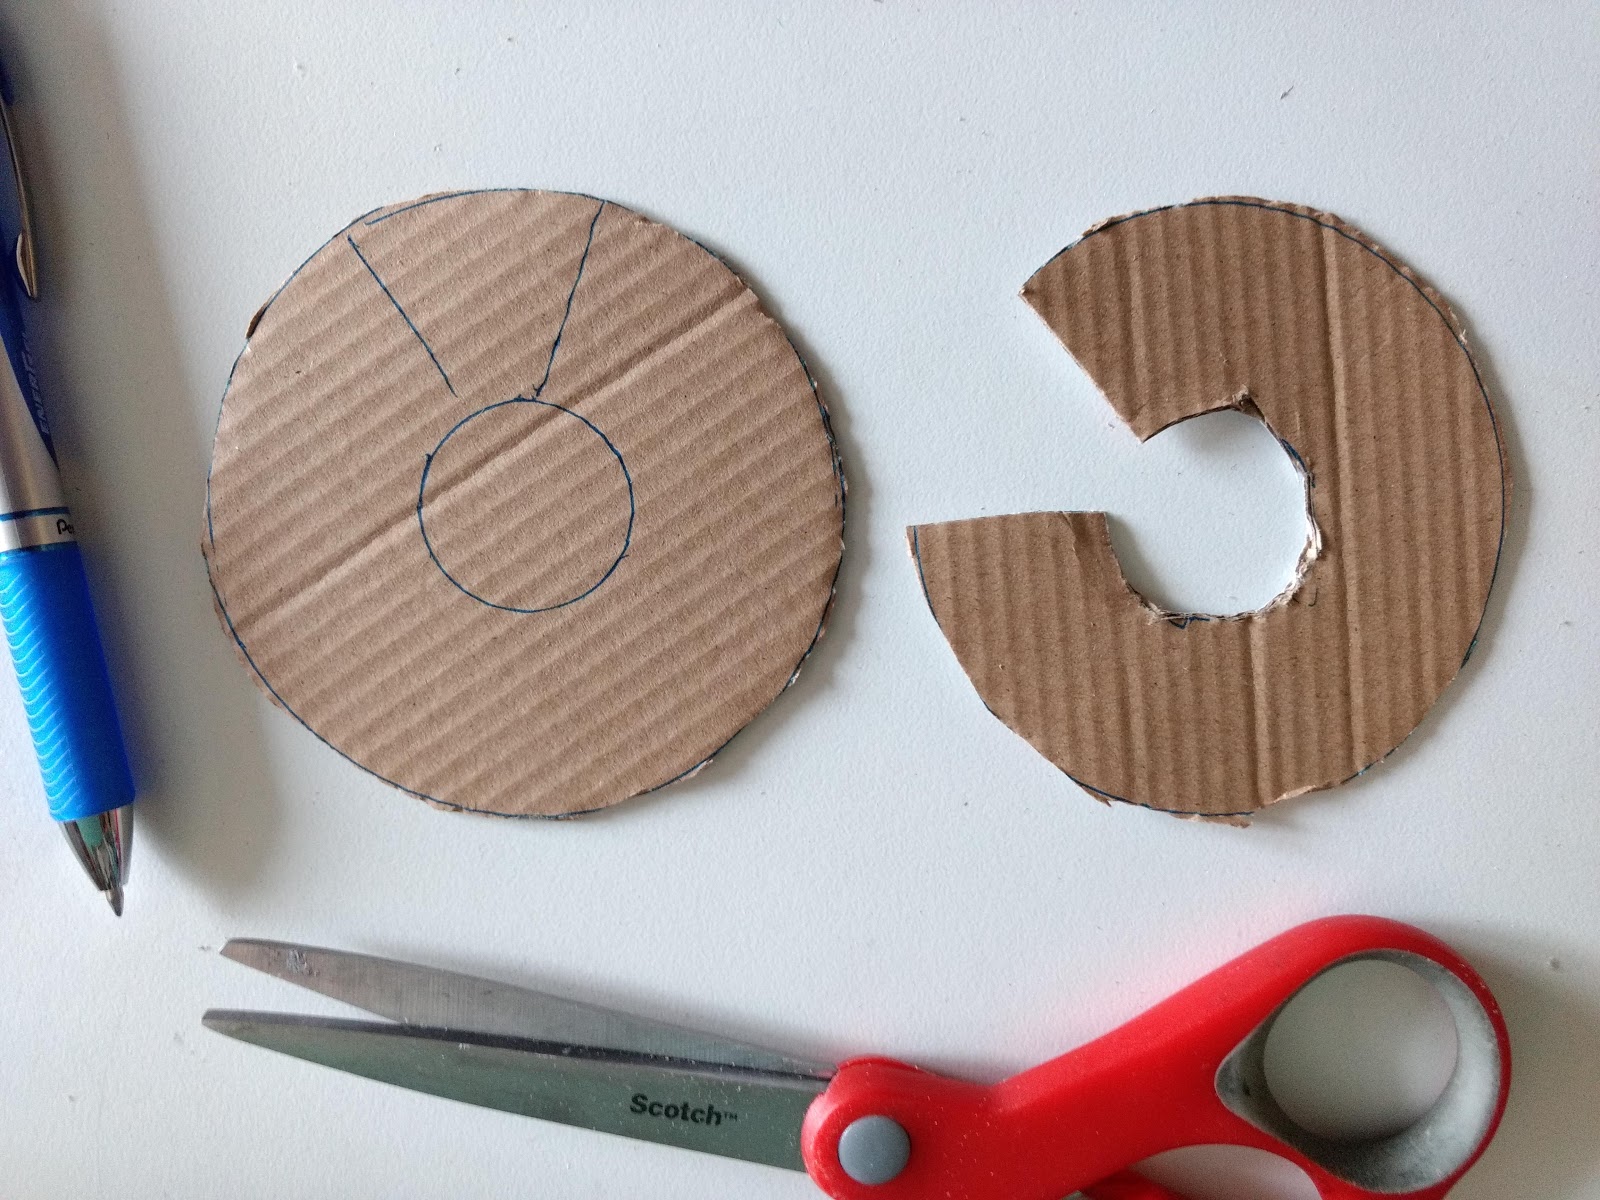
First, draw two matching circles on your cardboard with the little circles inside them. Just do your best to get them in the center. I know. They look like boobs.
Cut them out, creating a Pacman-like \”C\” shape.
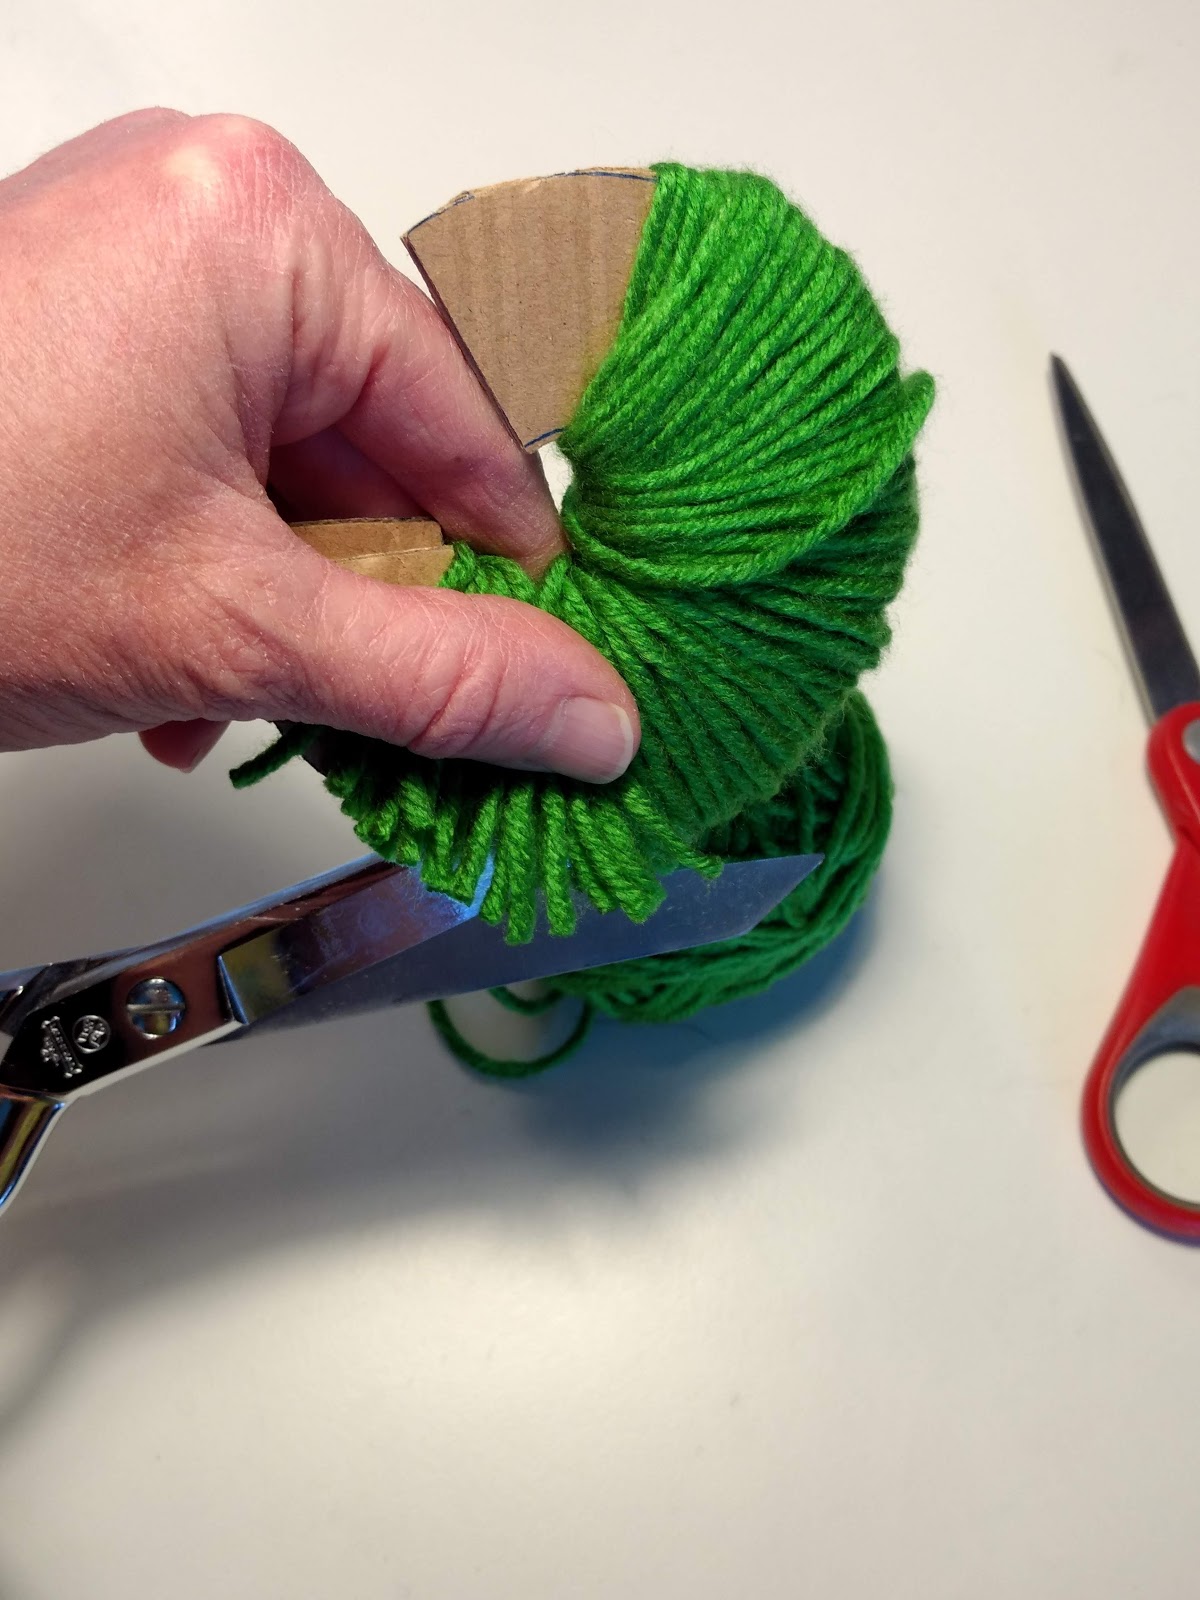
Holding your C-shaped forms together, begin to wrap your yarn, patiently and slowly back and forth around the \”C\’s.\” The trick is to wrap evenly, and use a LOT of yarn. And wrap sort of loosely. If you wrap too tightly, you won\’t be able to slide the blade of your scissors between the cardboard pieces. This will become important in a moment.
My gold pom pom got pretty fat, as you see below, and it turned out to be the best one of the bunch. Thickness is key in order for the pom pom to \”stand\” up on it\’s little c-shaped frame. This will help you tie it. Note: be sure not to creep too close to the ends of the \”C\” when wrapping. That made it harder for me, I think, to hold the looser yarn bits in place after I cut the outside edge.
Here begins the fiddly part. You will next take your sharp scissors, slide/wiggle the open blade in between the two C-shaped pieces of cardboard and begin cutting the yarn. In the first pic below, I am not showing my left hand holding the yarn while I cut (in order to get the photo), but you\’ll want to hold the yarn onto your C-shaped forms with your fingers, as you can see me doing two photos down.
Go slowly and use VERY sharp scissors for best results. It is almost impossible to cut the yarn when it\’s this thick and your scissors are dull.
 |
| Hold the inside yarn when cutting! |
When my outside edge was all cut, I tried to patiently smooth the yarn into place, evening up — just a little — any strands that looked a bit uneven. It worked well, as long as I went slowly and gently. Trust that it will stay mostly in the little form.
 |
| Smoothing the yarn out. |
 |
Here is another pic of the \”loose\” yarn. It doesn\’t jump out, or
anything, so you can work with it a little. |
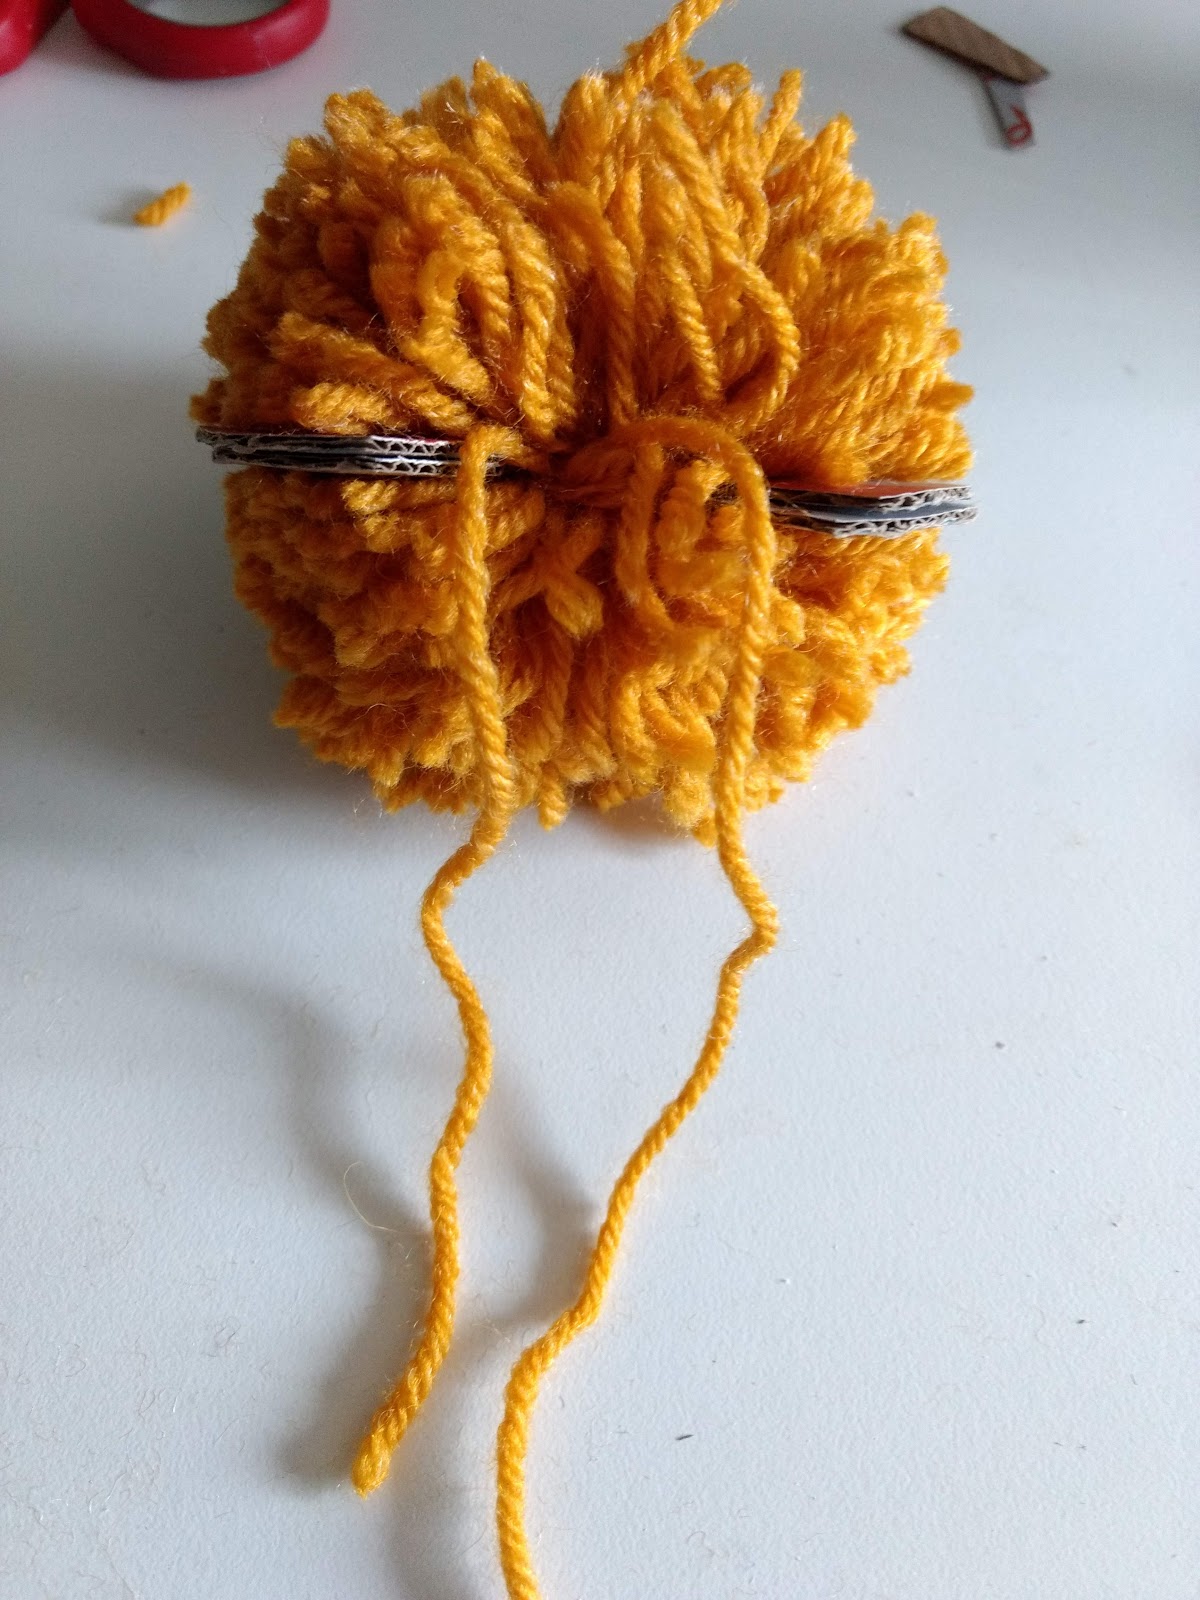
I think this may be the hardest part: slide a length of yarn between the pieces of cardboard. I used a piece about 10 inches long.
Below, you can see how it looks once the yarn is nestled all the way between the C-shapes. Preparing to tie!
Carefully tie a very firm knot in the center of the pom pom, holding all the pieces together. (Really — it can work!)
Now you can slide the cardboard out. The C-shaped pieces are reusable, if you liked the ones you made.
You\’ll have to trim your pom pom to be more even. Don\’t do what I\’ve done in the past: trim wayyyyy too short and have your yarn start to all fall out of your tie!!
Now you can use your pom poms for something!
Final tip: watch out when you wash items with pom poms on them. I\’d recommend hand-washing hats, etc, that have handmade poms, just to be sure they don\’t start to lose strands.
Here are some truly helpful links for more pom pom making:
1. A Rectangle option!
4. Clover Pom Pom Maker (why have I not done this? Seems to solve soooo many problems!!)
Looking forward to your comments, any suggestions you all have!! Please leave them! And if you\’d like, you can tag me on Instagram @freckledgirlknits to show me your pom successes (and failures, too! We all have them!) ! 🙂 🙂 🙂